Do you need to round the edges of a project but don’t know how?
A plunge router could be just the tool you’re looking for. This versatile and powerful tool is a woodworker’s best friend, allowing them to make precise cuts with ease.
If you’re wondering if a plunge router can help you achieve smooth, rounded edges, then we have good news for you: it sure can!
In this article, we’ll discuss the advantages and disadvantages of using a plunge router to round edges as well as provide useful tips and important safety considerations.
So get ready to explore the world of plunge routers and create projects with perfect, rounded edges!
Key Takeaways
- Plunge routers are versatile and powerful tools for rounding edges.
- Proper maintenance, such as changing bits often and keeping the base clean, is important for optimal results with a plunge router.
- Advantages of using a plunge router for rounding edges include a range of router bits available and ease of maintenance.
- Disadvantages of using a plunge router for rounding edges include the need for finesse and attention, regular blade maintenance, and slower speed compared to other methods.
Overview of Plunge Routers
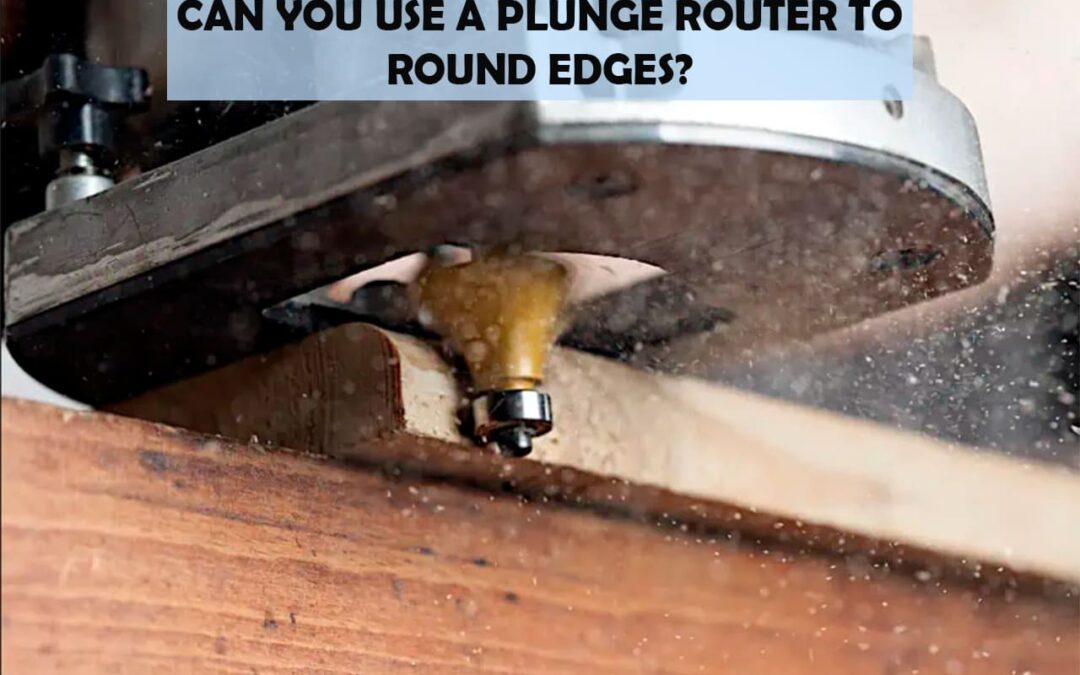
Plunge routers are great for rounding edges! A plunge router is a type of tool used to cut out shapes and create grooves in wood, plastic, and other material. It can be used with router jigs, set up on a router table, or handheld.
To ensure the best results from your plunge router, proper maintenance is key – changing bits often and keeping the base clean will extend the life of your tool. With its versatility and precision cutting capabilities, it’s no wonder why a plunge router is an ideal choice for rounding edges.
Advantages of Using a Plunge Router for Rounding Edges
With barely any effort, you’ll be ready to ‘wow’ your friends with perfectly rounded edges, all thanks to a plunge router! Plunge routers are ideal for this task because of the range of router bits available for selection. You can choose the type and size that best fits your project’s needs.
Additionally, maintaining a plunge router is relatively easy compared to other types of tools since it requires minimal cleaning and lubrication. Overall, a plunge router is an excellent choice for rounding edges with efficiency and precision.
That said, there are also some drawbacks when using one for this job which will be discussed in the next section.
Disadvantages of Using a Plunge Router for Rounding Edges
Despite its many advantages, a plunge router does have some drawbacks when it comes to rounding edges. Working with wood can be difficult and time-consuming, and a plunge router requires more finesse and attention than a traditional router. Additionally, the blades of the plunge router require regular maintenance to maintain their sharpness for cleaner cuts, which can add up to extra costs over time.
Furthermore, because the plunge router is designed for precision work, it’s not as fast or efficient as other methods for quickly rounding edges.
To move forward, however, tips are available for using the plunge router effectively and efficiently.
Tips for Using a Plunge Router to Round Edges
You can use a plunge router to round edges, but it requires the right router bit, preparation of the wood, and setting the router depth. It also requires proper routing techniques.
To ensure success in your project with a plunge router, choose a bit that matches the radius and material of your workpiece. Make sure you sand down and clean off any debris from the workpiece before beginning.
Setting the router depth is also key – make sure you set it at least 1/16” deeper than needed for best results.
Finally, when routing around an edge or corner, always start on one side and move clockwise so that all of your passes overlap properly.
Choosing the Right Router Bit
Choosing the right router bit is essential for rounding edges with a plunge router. Router selection depends on the type of wood, shape desired, and depth needed. Bit types vary in size, diameter, material, shape, and cutting edge.
Consider how quickly you need to make your cuts when selecting a router bit. Choose one that fits your project requirements and budget. For example, if needing to create soft edges, use a round-over bit. For more intricate shapes, try an ogee or Roman ogee bit.
Making the right choice helps ensure successful results while preventing costly mistakes. With proper planning, you can move ahead confidently into preparing the wood for routing.
Preparing the Wood
Now that you’ve chosen the right router bit for rounding edges, it’s time to prepare the wood. Start by selecting a piece of wood that’s suitable for your project. Depending on what type of edge you want to round, choose hardwood or softwood accordingly.
Then, cut the pieces to size and shape before continuing onto setting up your plunge router. Remember: selecting the right type of wood is key when wanting to achieve precise results.
With this done, it’s time to move on to setting the router depth.
Setting the Router Depth
To get the perfect edge, you’ll need to carefully adjust the router’s depth. To do this, use a ruler to measure and mark the depth of your desired cutting line.
Set your plunge router onto the wood, making sure to keep it level. Then adjust the depth accordingly and start at a slow cutting speed. Once set properly, increase your cutting speed until you reach a comfortable rate for routing.
With these steps complete, you’re ready to move on to techniques for routing with a plunge router.
Routing Techniques
Once you’ve got the settings just right, it’s time to start routing! Plunge routers are great for edge profiling and can be used to round edges. Here’s what to consider:
- Choose a router bit set suitable for the type of edge profile needed.
- Remember that the depth of the cut is an important factor in achieving desired results.
- Using a template guide can help create consistent, precise shapes with accuracy.
Now, onto safety considerations…
Safety Considerations
As you use a plunge router to round edges, remember to always keep your fingers away from the blade and guard yourself with safety goggles.
For further protection, wear long sleeves and pants as well as closed-toed shoes. It’s also important to set up dust control equipment like a shroud or vacuum hose that connects directly to the machine.
Additionally, it’s essential not to forget about earplugs and respirators for hearing and air protection from wood dust particles respectively.
Finally, make sure you’re aware of the environment around you while using such machinery to stay safe at all times.
Conclusion
Yes, you can use a plunge router to easily round edges. It’s an incredibly powerful tool that allows you to create smooth transitions with minimal effort.
But be sure to take the necessary safety precautions and follow all instructions carefully – it can be dangerous if used incorrectly!
With a little practice, you’ll be able to achieve professional-looking results in no time at all. And trust us, the result will be stunning – so much so that it’ll almost seem too good to be true!
Frequently Asked Questions
What type of material is best to use when rounding edges with a plunge router?
You can use a wide variety of materials when rounding edges with a plunge router. However, it’s important to follow safety tips and maintain your router properly to ensure optimal performance. For instance, did you know that over 40% of all woodworking accidents involve the misuse of power tools? Keep this in mind when using a plunge router to round edges for the best results!
What is the difference between a plunge router and a standard router?
You may wonder what the difference is between a plunge router and a standard router. A plunge router has an adjustable base, allowing you to set the depth of the cut. Standard routers only allow for one cutting depth, meaning safety precautions must be taken when adjusting or maintaining it. Additionally, a plunge router is better suited for rounding edges as its adjustable base allows you to achieve more precise results.
What is the best way to secure the material while using a plunge router?
When using a plunge router, the best way to secure the material is to use clamping techniques. Make sure your clamps are strong and tight, then adjust the router speed for a smooth cut.
How do I know when to replace the router bit?
You know it’s time to replace the router bit when you notice it’s no longer sharp, even after trying to sharpen it. Change speeds while routing and pay attention to any signs of vibration or wear; if you feel either, switch out the bit for a new one. Don’t let your project suffer from sub-par materials– keep an eye out for quality bits and get ready to make some beautiful rounded edges!
Is it possible to use a plunge router to cut circles?
Yes, it is possible to use a plunge router to cut circles. You can shape curves by adjusting the router depth and using a guide. Be sure to take extra precautions when cutting circles as the bit has more potential to catch on edges.