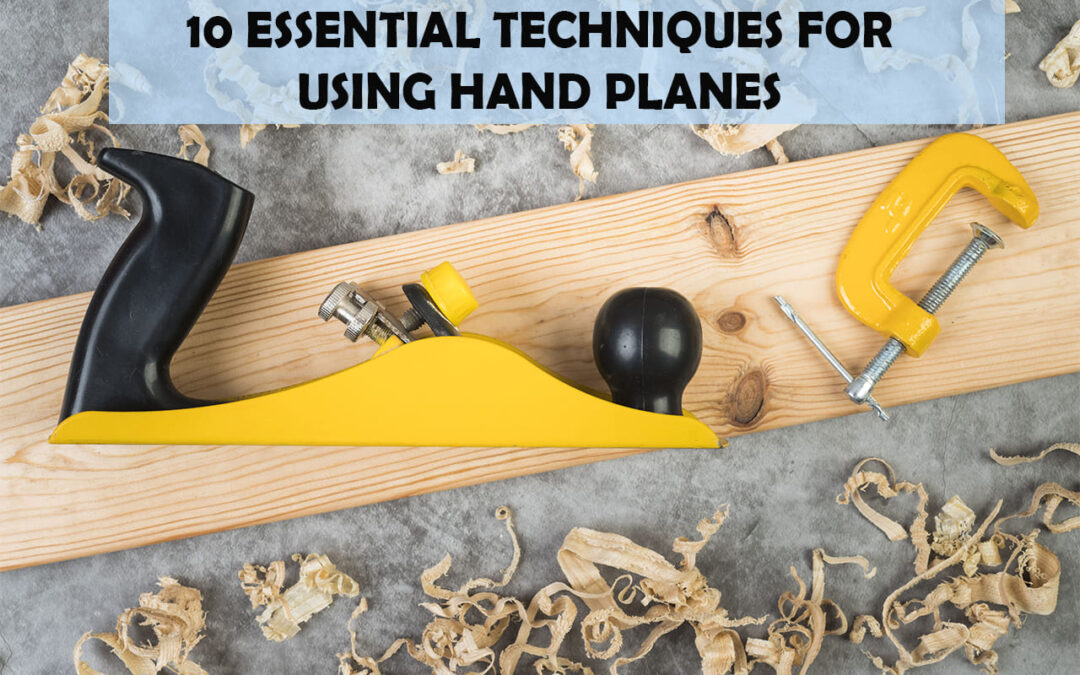
Do you want to level out your woodworking projects like a pro? Hand planes have been the go-to tools for generations of tradespeople, and mastering their use is an essential skill for any aspiring woodworker.
With just a few simple steps, you can learn the basics of using hand planes and start honing your craftsmanship with precision. From choosing the appropriate plane for the job to setting up, sharpening, and maintaining it – these 10 essential techniques will help you master the art of working with hand planes in no time.
So grab your plane and let’s get started!
Key Takeaways
- Choosing the right-hand plane involves considering the size, shape, and material being worked with, as well as paying attention to details like blade angle and depth of cut.
- Proper setup of the hand plane, including adjusting the blade depth, blade angle, and mouth opening, is crucial for achieving desired results.
- Sharpening the blade using sharpening jigs and honing stones is necessary for reducing friction and ensuring a precise cut.
- Practice and attention to detail are necessary for the effective use of a hand plane, including making straight and steady strokes, as well as mastering curved cuts.
1. Choosing the Right Plane for the Job
When choosing the right plane for a job, it’s important to consider not just its size and shape, but also how it’ll interact with the material you’re working with.
If you don’t know what type of plane is best suited for the task at hand, it can be helpful to look at alternative planes or accessories that might give you better results.
Paying attention to details like the blade angle and depth of cut will also help ensure that your plane functions properly.
Additionally, having an understanding of basic woodworking tools and techniques can go a long way in helping you select the right one for each project.
When selecting a plane, creative problem-solving is essential since every job requires its unique approach depending on the material being worked on.
As such, having an array of options available and knowing when to use each one is key to successful woodworking.
Overall, choosing the right plane involves carefully evaluating all potential options before making a final decision.
By doing this and considering all aspects of the project beforehand, you’ll be able to set up your plane optimally and craft pieces with confidence.
2. Setting Up the Plane
Setting up your plane correctly is essential to achieving the desired results. Adjusting the blade depth, angle, and mouth opening are key elements of this process. Working with a careful hand and eye for detail will help you make sure these settings are just right so that you can get the best possible results from your plane.
Adjusting the blade depth
To adjust the blade depth, you’ll need to take a hands-on approach and dig in deep.
To begin, unlock the lever cap at the top of the plane and push the blade forward until it’s just above your desired cutting depth. Make sure to keep control over any vibration that may occur as you do this.
As you move deeper, remember to check your progress often so that you don’t go too far. Once your blade is in place, securely tighten the lever cap again.
With a little practice, adjusting the blade depth will become second nature and help ensure smooth woodworking projects every time.
You’re now ready to shift focus and hone in on adjusting the blade angle for maximum efficiency!
Adjusting the blade angle
Adjusting the blade angle is key to a successful woodworking project, so it’s important to get it just right. By fine-tuning this adjustment, you can achieve maximum accuracy and control.
Here are four essential tips to help you adjust your blade angle:
- Level the plane iron against a flat surface.
- Tighten the cap iron firmly over the blade.
- Use light pressure when adjusting the lever cap.
- Check for any gaps between the blade and cap iron after tightening.
These techniques will help you improve accuracy and control while using hand planes, allowing you to create perfect results every time.
To complete your setup, next focus on adjusting the mouth opening – an equally vital step in ensuring finished pieces with smooth surfaces and precise edges.
Adjusting the mouth opening
Fine-tuning the mouth opening is essential for achieving flawless results, so take your time to get it just right! The size of the opening should correspond with the thickness of the wood you plan on working on.
If it’s too wide, the plane will struggle to cut through and if it’s too small, your workpiece won’t move smoothly. Adjustment can be done by using sharpening techniques to remove some metal off the blade’s edge or by readjusting its angle according to your needs.
To ensure an evenly distributed flow on both sides, consider making minor adjustments after each pass until you achieve a perfect balance between blade angle and mouth opening.
With these fine-tuned details in place, you’ll be ready for the next step: preparing the wood surface for planing.
3. Preparing the Wood Surface
Preparing the wood surface is a must-do step that’ll make all the difference, it’s like night and day! To shape wood, you need to select grain and remove any dents. Sanding edges will help join pieces while smoothing out sharp corners. Then, use a hand plane for the finishing touches.
Here are 4 critical steps to ensure success:
- Make sure your stock is straight and free of knots or defects.
- The plane along the grain for smooth results and minimal tear-out.
- Experiment with different blades to find what works best for your project type.
- Be mindful of snipe-on-end grain cuts, try setting the blade deeper than usual if needed.
From there, you’re ready to create perfect surfaces which are prepped for further refinement! Taking time upfront can save hours in sanding later on, so it pays off in spades when you take care to prepare your wood surfaces properly before planing them down to size.
4. Sharpening the Blade
Sharpening the blade is key for reducing friction and ensuring a precise cut, it’s like giving your plane a fresh start.
There are several sharpening jigs available that can be used to ensure the correct angle of the plane blade. Honing stones should also be used to ensure the edge is clean and sharp.
When honing, use smooth strokes in one direction with light pressure, repeating this motion until you reach a satisfactory level of sharpness. After honing both sides, test the blades on some scrap wood or an old board by pushing firmly against it; if there is any resistance then you may need to hone further.
If all has gone well, you will notice that your blade glides smoothly through the wood without leaving any chipping or tear-out marks. In addition, check for any burrs along the back of the plane; if present use either a file or honing stone to remove them.
The result should be an extremely sharp edge which will give excellent results when using your hand plane on your project pieces.
Taking care while sharpening ensures that each pass with your hand plane will leave perfect finishes and no sanding required afterward!
5. Using the Plane
Now that you’ve got a sharpened blade, it’s time to put your hand plane to work! Make sure the wood you’re cleaning is securely held in place. This will help reduce chatter marks and ensure an even cut.
To begin, always inspect the surface of the wood your plane will be running over. If there’s any debris or sawdust on its surface, use a brush to remove it before using the plane.
When securing your plane, make sure its sole is tightly pressed against the surface of the wood you’re working with. This will ensure a smooth cut and help maintain accuracy when planing. You can also adjust the depth of cut by adjusting the lever located near the handle. This helps control how much material gets removed with each pass.
For best results when planing, keep your strokes straight and steady while moving forward across your piece of wood. Start at one end and gradually move towards the other side. This will produce more uniform cuts compared to starting from both ends simultaneously. As you’re making passes, listen for any unnatural noises or vibrations coming from your handplane. These could be signs that something isn’t quite right, so take a look at what might need adjustment before continuing.
Using a hand plane effectively requires patience and attention to detail, but once mastered, it can become an invaluable tool for all types of projects! With knowledge of proper technique and maintenance for sharpening blades and using planes properly, you’ll soon find yourself creating beautiful finishes on pieces of wood quickly and efficiently without sacrificing quality or accuracy in craftsmanship.
Now let’s take a look at how we can use our hand planes to make curved cuts!
6. Making Curved Cuts
Crafting curved cuts with a hand plane can seem intimidating, but don’t worry – it’s much easier than you think! Start by planning out your project thoroughly and make sure that the wood is adequately tensioned.
By releasing tension and creating angles, you’ll be able to make curved cuts with ease. When using the plane, begin with small strokes to gain control over where the cut will be made. It takes time to develop a sense of finesse when making these types of cuts, so have patience as you practice.
The key is to use light pressure while pushing down at an angle across the grain of the wood. As you become more comfortable using a hand plane for curved cuts, experiment with different blade depths and angles before starting on your project. With enough practice and experience, you’ll soon be able to craft beautiful curves on any piece of wood!
To perfect them, however, one must learn how to make small adjustments along the way.
7. Making Small Adjustments
Once you’ve gained mastery over the basics of curved cutting, it’s essential to learn how to make small adjustments to your project. To do this, you can use retooling planers in combination with honing techniques for precision work.
When using a plane that’s been adjusted and calibrated correctly, the process becomes much easier and requires less time and effort. It’s important to remember that when making small changes, every minor adjustment counts. Therefore, patience and perseverance are key when attempting these types of projects.
For those who are new to woodworking or hand planes, spending extra time researching and practicing honing techniques will pay off in the long run. As you become more comfortable with honing tools and working with various materials, you can achieve fine-tuned results more quickly than before.
Additionally, understanding the principles of grain direction can help identify areas that may require further attention should any problems arise during execution.
No matter what project you’re working on, having an eye for detail is crucial to achieving accurate results while making small adjustments with hand planes. With practice comes improvement, so don’t be afraid to experiment as you work towards mastering the skill of making delicate cuts with your plane slowly but surely!
Having a clear vision for your end goal will help ensure success as you finesse each piece into perfection. Transitioning into fixing sagging corners without difficulty or hesitation along the way.
Fixing Sagging Corners
For those looking to fine-tune their woodworking projects, fixing sagging corners can be a breeze compared to other techniques. With the right tools and knowledge, it’s easy to restore pieces of furniture to their former glory.
- Using Chisels: A simple chisel is all you need for knocking off sharp edges and cutting away excess material. Start by marking out the area with a pencil, then carefully use your chisel to take off small amounts at a time until you get the desired shape.
- Honing Edges: You’ll also want to sharpen any dull edges or corners. To do this, use a honing stone or diamond file for the best results. Work in slow strokes until the edge is smooth and shiny again. This will give your corner piece an even profile when finished.
Lastly, consider adding some finishing touches with sandpaper or varnish depending on what type of project you’re working on. From here, you can move on to smoothing out the surface before finally putting everything together!
Finishing the Surface
Polishing your project with sandpaper or varnish will give it a beautiful, professional finish so don’t skip this step! To achieve the perfect-looking surface, you’ll need to use some honing and scraping techniques. This is where a hand plane can come in handy.
With small strokes of the plane, you can remove any ridges or bumps that may have been created while cutting and shaping. Be sure to be gentle when using the plane too much pressure may result in deep scratches on the wood’s surface.
When honing, move the plane gently along the length of the board until you’ve achieved an even surface. Use light strokes and make sure to check for any inconsistencies throughout each pass. Then switch over to a scraping technique to get a more refined finish. Push down firmly but not too hard; again, too much pressure may cause scratches on your project’s surface.
Once both techniques have been completed, take some extra time to go over everything one last time with sandpaper before applying any varnish or other sealant product as desired. With this final step complete, your project should look as good as new!
Achieving an even surface is important for making sure that all parts of your work are consistent and uniform in appearance, now it’s time to move on to maintaining your tool so that it stays in top condition for future use!
Maintaining the Plane
Properly maintaining your plane is key to continuing its effectiveness as a woodworking tool. To ensure the best performance, start by cleaning off excess debris and dirt from all parts of the plane using a brush and cloth.
You should also inspect it for any signs of wear or damage on blades, screws, handles, and other components. If you find any damage, have them repaired or replaced before use.
Regularly lubricating moving parts like the blade adjustment mechanism and lever cap screws can also help keep your plane running smoothly with minimal resistance.
Additionally, protecting your blades from rust is essential for keeping them sharp and in good condition over time. After each use, wipe down the blades with an oil-soaked cloth to keep moisture away and prevent corrosion.
In addition to this routine maintenance process, consider applying wax to metal surfaces once a year to further protect against oxidation.
Finally, make sure you store your plane in a cool dry area where it won’t be exposed to excessive heat or humidity which can cause rusting of metal components over time. It’s also important that you keep all parts together when not in use so that you don’t misplace any pieces when you’re ready for another project!
Conclusion
You’ve now mastered the essential techniques for using hand planes. You’re sure to get the job done right with a little practice and patience.
With your newfound confidence, you can tackle any woodworking project and create something beautiful that you’ll be proud to show off. Don’t forget to keep your plane sharp and clean, so it’ll last for years of use!
Congratulations on taking a big step forward in becoming an expert woodworker!
Frequently Asked Questions
How do I store my hand plane safely?
Store your plane safely by keeping the blade sharpened and maintained. To do this, use proper sharpening techniques and regularly check the blade for any damage or wear. With careful maintenance, your plane will be ready to use for years to come.
What type of oil should I use to lubricate the blade?
You should choose an oil specifically designed for sharpening blades; research indicates that woodworkers who use this type of oil can sharpen up to twice as fast. Consider the climate you’re in, then apply a few drops of lubricant to your blade before sharpening, it’ll help keep your hand plane in top condition!
How long should I expect a hand plane to last?
With proper sharpening and blade maintenance, your hand plane should last for years. Try out our sharpening tips to keep it at its best.
What is the best way to protect the blade from rust?
Your best bet for preventing rust on your hand plane’s blade is to practice preventative maintenance and regular cleaning. Don’t skimp on this critical step – it’s the key to keeping your tool in peak condition. Carefully oil the blade, clean away debris, and store it in a dry place – these simple steps can help maintain its longevity and effectiveness for years to come.
Is it safe to use a hand plane on wet wood?
It is not safe to use a hand plane on wet wood; instead, select dry wood and ensure sharpening techniques are up-to-date. Wet wood can cause serious damage to the blade and your project.